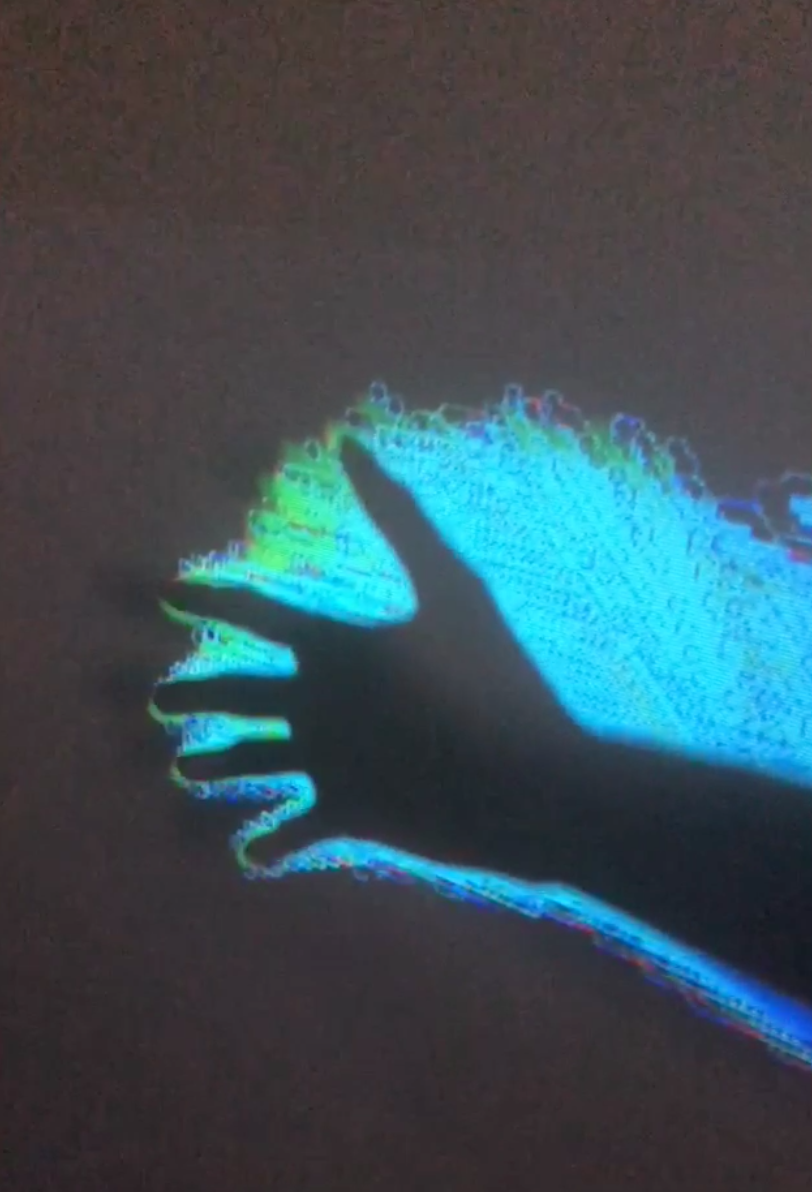
<?xml version="1.0" encoding="utf-8"?><feed xmlns="http://www.w3.org/2005/Atom" ><generator uri="https://jekyllrb.com/" version="3.10.0">Jekyll</generator><link href="montaguegabe.github.io/feed.xml" rel="self" type="application/atom+xml" /><link href="montaguegabe.github.io/" rel="alternate" type="text/html" /><updated>2025-10-30T05:40:18+00:00</updated><id>montaguegabe.github.io/feed.xml</id><title type="html">Gabe Montague</title><subtitle>The personal website of Gabe Montague.</subtitle><entry><title type="html">Augmented reality without headsets: Homemade Interactive Projection Mapping with Kinect + OpenGL</title><link href="montaguegabe.github.io/jekyll/update/2018/06/09/diy-projection-mapping.html" rel="alternate" type="text/html" title="Augmented reality without headsets: Homemade Interactive Projection Mapping with Kinect + OpenGL" /><published>2018-06-09T23:09:17+00:00</published><updated>2018-06-09T23:09:17+00:00</updated><id>montaguegabe.github.io/jekyll/update/2018/06/09/diy-projection-mapping</id><content type="html" xml:base="montaguegabe.github.io/jekyll/update/2018/06/09/diy-projection-mapping.html"><![CDATA[<p>In this demo we explore a kind of AR that doesn’t come with headsets or mobile screens: <strong>interactive projection mapping</strong>. For some examples of what interactive projective mapping is: see these <a href="https://youtu.be/EGw2JOx11IM?t=10m53s">demos</a> from AWE USA 2017 or the projection mapping <a href="http://www.projection-mapping.org">blog</a>. Our project won’t be quite as fancy: we’ll just set up rudimentary hand-drawing on a projected surface:</p>

<div style="width:100%; height: 430px">
<div class="col-3">
<video width="202" height="400" controls="" loop="" muted="">
  <source src="/assets/demo.mp4" type="video/mp4" />
Your browser does not support the video tag.
</video>
</div>
<div class="col-3">
<img src="/assets/demo2.png" width="202" height="400" />
</div>
<div class="col-3">
</div>
</div>

<p>To do this you will need:</p>

<ol>
  <li>A projector (I used this <a href="https://www.amazon.com/gp/product/B06ZY24M2F/ref=oh_aui_search_detailpage?ie=UTF8&amp;psc=1">$70 one</a>)</li>
  <li>A depth sensor. I use the Kinect “for Windows” V2 which gives 512x424 depth frames at 30 FPS</li>
  <li>(Optional?) a decent GPU on your computer to process the images</li>
</ol>

<p>As far as software, we’ll be using OpenGL, OpenCV with CUDA, and <a href="https://structure.io/openni">OpenNI</a>.</p>

<h2 id="part-1-setup">Part 1: Setup</h2>

<p>By far the hardest part of any project like this is getting the devices to play nicely together through your computer. I will be describing the process of installation for OSX with Kinect V2, but theoretically the demo code should be able to run with any OpenNI-compatible sensor on any operating system.</p>

<h3 id="10-install-cuda-optional-for-speed">1.0: Install CUDA (optional for speed)</h3>
<p>CUDA accelerates many operations of OpenCV. The installation instructions found on their website (for instance their <a href="https://docs.nvidia.com/cuda/cuda-installation-guide-mac-os-x/index.html">OSX</a> instructions) require specific versions of your OS and Xcode. For certain cards on OSX the installation further requires the NVIDIA Web Driver for CUDA to work correctly.</p>

<h3 id="11-install-libfreenect2">1.1: Install libfreenect2</h3>
<p><a href="https://github.com/OpenKinect/libfreenect2">libfreenect2</a> is the driver software for Kinect V2. You can use <a href="https://github.com/OpenKinect/libfreenect">libfreenect</a> for Kinect V1. For other sensors you’re on your own.</p>

<p>The libfreenect2 <a href="https://github.com/OpenKinect/libfreenect2">repo</a> has instructions on installing the driver, skipping the OpenNI test, which appears to only work for Kinect V1.</p>

<h3 id="12-install-openni2">1.2: Install OpenNI2</h3>
<p>The easiest way to install OpenNI on OSX is with Homebrew with <code class="language-plaintext highlighter-rouge">brew install openni2</code>.</p>

<h3 id="13-install-opencv">1.3 Install OpenCV</h3>
<p>To install OpenCV with CUDA you will probably have to build it yourself via instructions at <a href="https://github.com/opencv/opencv">https://github.com/opencv/opencv</a>. For OSX 10.13 it builds with the following <code class="language-plaintext highlighter-rouge">cmake</code> flags (Kepler is the architecture of the GeForce GT 750M):</p>

<div class="language-plaintext highlighter-rouge"><div class="highlight"><pre class="highlight"><code>cmake \
-D CMAKE_BUILD_TYPE=RELEASE \
-D CMAKE_INSTALL_PREFIX=/usr/local/opencv \
-D WITH_CUDA=ON \
-D ENABLE_FAST_MATH=1 \
-D CUDA_FAST_MATH=1 \
-D WITH_CUBLAS=1 \
-D CUDA_GENERATION=Kepler \
-D WITH_OPENNI2=ON \
</code></pre></div></div>

<p>To install OpenCV without CUDA it probably will suffice to use Homebrew.</p>

<p>To be continued…</p>]]></content><author><name></name></author><category term="jekyll" /><category term="update" /><summary type="html"><![CDATA[In this demo we explore a kind of AR that doesn’t come with headsets or mobile screens: interactive projection mapping. For some examples of what interactive projective mapping is: see these demos from AWE USA 2017 or the projection mapping blog. Our project won’t be quite as fancy: we’ll just set up rudimentary hand-drawing on a projected surface:]]></summary></entry></feed>