Augmented reality without headsets: Homemade Interactive Projection Mapping with Kinect + OpenGL
In this demo we explore a kind of AR that doesn’t come with headsets or mobile screens: interactive projection mapping. For some examples of what interactive projective mapping is: see these demos from AWE USA 2017 or the projection mapping blog. Our project won’t be quite as fancy: we’ll just set up rudimentary hand-drawing on a projected surface:
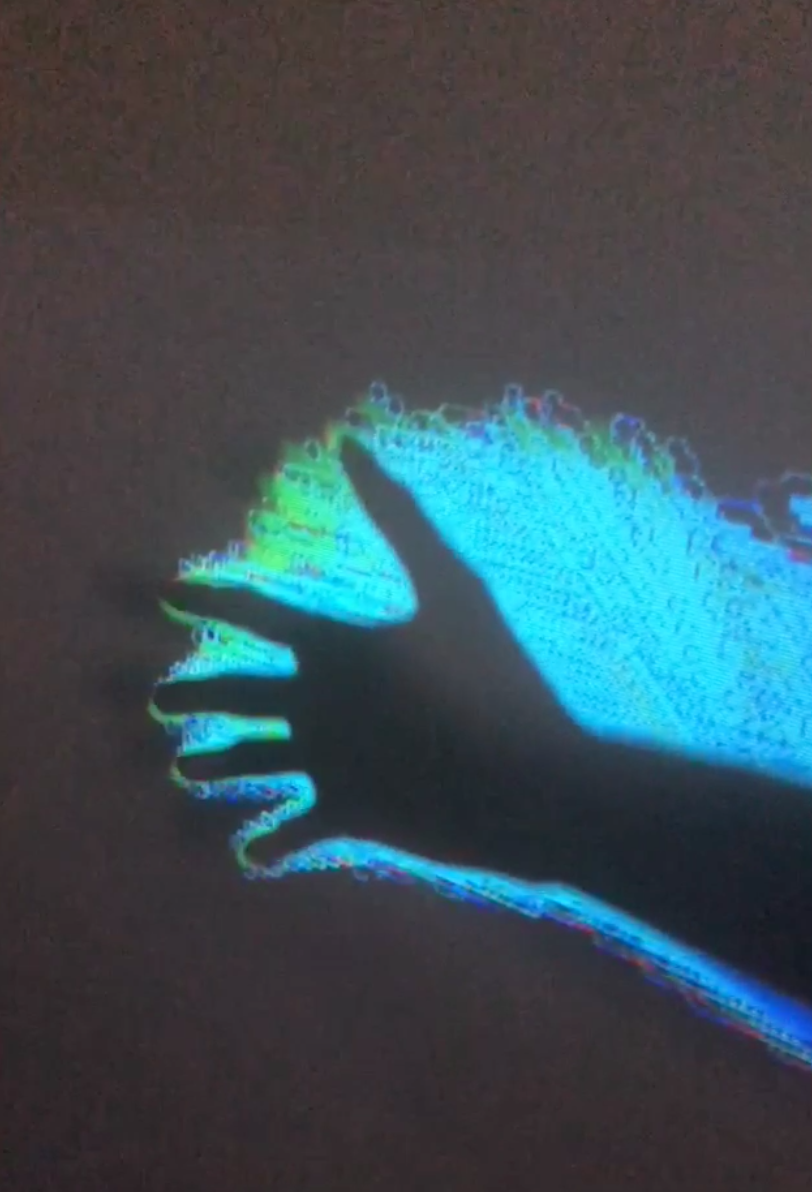
To do this you will need:
- A projector (I used this $70 one)
- A depth sensor. I use the Kinect “for Windows” V2 which gives 512x424 depth frames at 30 FPS
- (Optional?) a decent GPU on your computer to process the images
As far as software, we’ll be using OpenGL, OpenCV with CUDA, and OpenNI.
Part 1: Setup
By far the hardest part of any project like this is getting the devices to play nicely together through your computer. I will be describing the process of installation for OSX with Kinect V2, but theoretically the demo code should be able to run with any OpenNI-compatible sensor on any operating system.
1.0: Install CUDA (optional for speed)
CUDA accelerates many operations of OpenCV. The installation instructions found on their website (for instance their OSX instructions) require specific versions of your OS and Xcode. For certain cards on OSX the installation further requires the NVIDIA Web Driver for CUDA to work correctly.
1.1: Install libfreenect2
libfreenect2 is the driver software for Kinect V2. You can use libfreenect for Kinect V1. For other sensors you’re on your own.
The libfreenect2 repo has instructions on installing the driver, skipping the OpenNI test, which appears to only work for Kinect V1.
1.2: Install OpenNI2
The easiest way to install OpenNI on OSX is with Homebrew with brew install openni2.
1.3 Install OpenCV
To install OpenCV with CUDA you will probably have to build it yourself via instructions at https://github.com/opencv/opencv. For OSX 10.13 it builds with the following cmake flags (Kepler is the architecture of the GeForce GT 750M):
cmake \
-D CMAKE_BUILD_TYPE=RELEASE \
-D CMAKE_INSTALL_PREFIX=/usr/local/opencv \
-D WITH_CUDA=ON \
-D ENABLE_FAST_MATH=1 \
-D CUDA_FAST_MATH=1 \
-D WITH_CUBLAS=1 \
-D CUDA_GENERATION=Kepler \
-D WITH_OPENNI2=ON \
To install OpenCV without CUDA it probably will suffice to use Homebrew.
To be continued…